

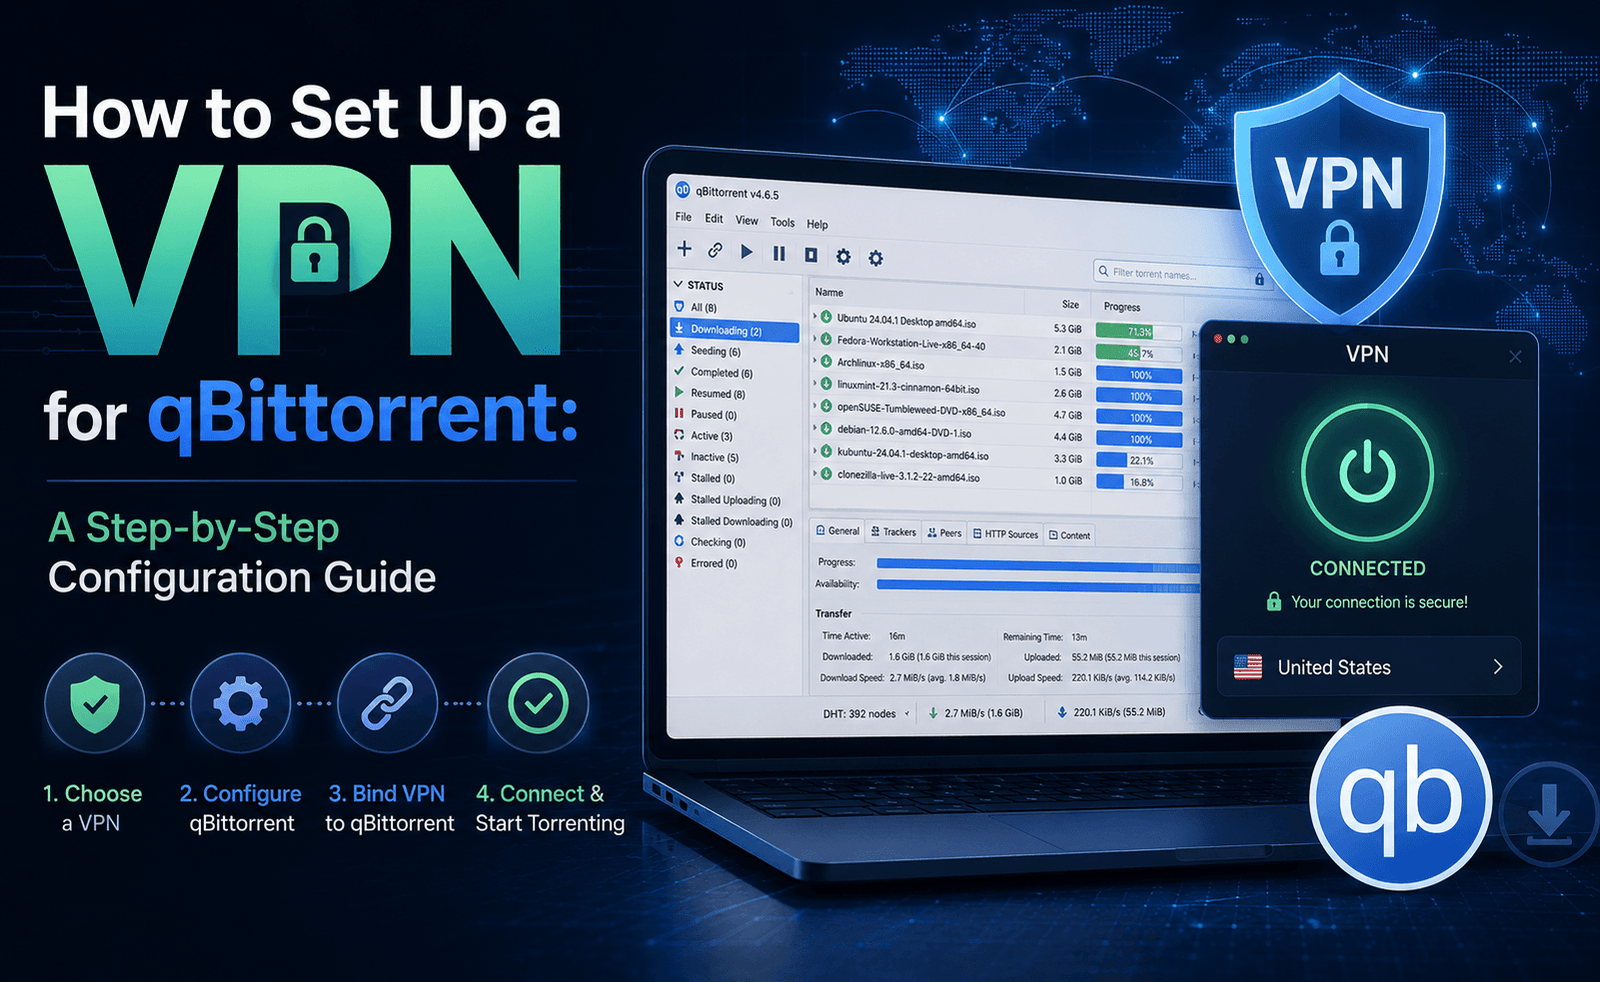
Having a VPN installed and having a VPN properly configured for torrenting are two different things. It’s entirely possible to be connected to a VPN, start a download in qBittorrent, and still leak your real IP address the moment your connection hiccups — because the default settings in most VPN apps and most torrent clients simply aren’t built with each other in mind. This walkthrough covers the specific settings that matter, in the order you should set them up, using qBittorrent as the example client since it’s the most widely used, though the same principles apply to Deluge, Transmission, and most other clients with minor menu differences.
Step 1: Choose a VPN That Explicitly Supports P2P
Before touching any settings, confirm the VPN you’re using actually supports torrenting — not every provider does, and some allow it only on specific servers. Look for one of two things in the app: either a clearly labeled category of “P2P” or “Torrenting” servers, or an explicit statement in the provider’s documentation that P2P traffic is permitted network-wide. If you’re on a free tier of an otherwise paid service, double-check that P2P is actually included at that tier specifically, since it’s a common feature to be restricted to paid plans even when the paid version supports it fully.
Step 2: Turn On the Kill Switch Before You Connect
Open your VPN app’s settings and locate the kill switch option — it’s sometimes labeled “Network Lock,” “Internet Kill Switch,” or similar. Enable it now, before connecting to a server, not after. Many VPN apps ship with this feature turned off by default, and it’s the single most important setting for torrenting specifically, since it’s what prevents your real IP from being exposed to the swarm if the VPN connection drops mid-download. If your app offers both a system-level and an app-level (per-application) kill switch, choose the system-level option for the strongest protection.
Step 3: Connect to a P2P-Optimized Server
With the kill switch active, connect to a server explicitly marked for P2P traffic if your provider offers that distinction, choosing one geographically close to you for the best speed. If your provider doesn’t segment servers this way and instead allows P2P network-wide, a nearby, lightly loaded server is still the best choice — many VPN apps display current server load, which is worth checking if download speed matters to you.
Step 4: Enable Port Forwarding, If Available
If your VPN offers port forwarding, turn it on in the app’s settings and note the port number it assigns — this is usually shown directly in the connection details or a dedicated port-forwarding menu. Keep this number visible; you’ll need to enter it manually into qBittorrent in the next step. If your provider doesn’t offer port forwarding, you can skip this step entirely — torrenting will still work, just potentially with somewhat reduced connectivity to peers behind their own NAT restrictions.
Step 5: Match the Port in qBittorrent
Open qBittorrent and go to Tools > Options > Connection. Under “Listening Port,” disable “Use UPnP / NAT-PMP port forwarding from my router” if it’s checked — this setting is for your home router, not the VPN, and leaving it enabled can cause confusion when you’re also using a VPN-assigned port. Enter the specific port number your VPN provided in Step 4 into the “Port used for incoming connections” field. If you’re not using port forwarding, you can leave this on a random port, since it won’t be reachable from outside your network either way.
Step 6: Bind qBittorrent to the VPN’s Network Interface
This is the step most guides skip, and it’s arguably as important as the kill switch itself. Still in Tools > Options, go to the Advanced tab and look for “Network Interface.” Instead of leaving this on the default “Any interface” setting, select your VPN’s specific virtual network adapter from the dropdown — it’s typically named something referencing the VPN provider or a generic label like “TAP” or “WireGuard.” With this set, qBittorrent will only transfer data through the VPN’s interface specifically; if the VPN disconnects, the interface disappears and qBittorrent simply stops transferring, rather than silently falling back to your regular network connection. This works as a second, independent layer of protection alongside your VPN app’s own kill switch.
Step 7: Verify There Are No Leaks
Before downloading anything real, do a quick verification pass. With the VPN connected and qBittorrent configured, visit an IP-checking or leak-testing website in your browser and confirm the IP address shown matches your VPN server’s location, not your real one, and that DNS requests resolve through the VPN rather than your ISP. Then start a small, legal torrent — a Linux distribution image works well for this — and check qBittorrent’s connection status. It should show as “Connected” (or, with port forwarding correctly configured, not flagged as “firewalled”). Finally, repeat the manual disconnect test described in our companion guide on kill switches: briefly disable your network connection while the torrent is active and confirm that qBittorrent stalls completely rather than continuing to transfer data.
Step 8: Adjust Client-Side Settings for Better Performance
With the security fundamentals in place, a few additional qBittorrent settings can improve your experience specifically when running through a VPN:
- Connection limits: VPN tunneling adds some overhead per connection, so if you notice instability, try reducing the global maximum number of connections slightly from qBittorrent’s default under Tools > Options > Connection.
- Encryption settings: Under the same Connection tab, setting protocol encryption to “Require encryption” adds a layer of obfuscation to your torrent traffic at the client level, which is separate from, and complementary to, the encryption already provided by the VPN tunnel itself.
- Anonymous mode: Some qBittorrent versions include an “Anonymous Mode” option under Advanced settings, which limits the information your client shares in its peer identification string. It’s a minor privacy improvement worth enabling alongside your VPN, though it’s not a substitute for the VPN itself.
Common Problems and Fixes
Downloads are stuck at 0% or extremely slow. Check first whether the torrent itself has enough active seeders — this is unrelated to your VPN setup and is the most common cause of a stalled download. If seeders are healthy, try a different VPN server, since server load affects P2P throughput more than most other factors.
qBittorrent shows “Firewalled” status. This almost always means the port entered in qBittorrent doesn’t match the port actually forwarded by your VPN, or that port forwarding isn’t enabled on the server you’re connected to. Recheck both numbers match exactly.
Everything stops working after a while. This can indicate your VPN’s IP-forwarded port has changed — some providers rotate the assigned port periodically or on reconnect — which means the port stored in qBittorrent no longer matches. Check your VPN app for the current assigned port and update qBittorrent’s settings if it’s changed.
The kill switch seems too aggressive, blocking normal browsing too. This is expected behavior for a system-level kill switch — it blocks all traffic, not just torrent traffic, whenever the VPN is disconnected. If this is disruptive for daily use, some apps offer a schedule or toggle to disable it temporarily outside of torrenting sessions, though it’s worth re-enabling it before your next download.
Frequently Asked Questions
Do I need to configure anything different for Transmission or Deluge?
The underlying principles are identical — enable your VPN’s kill switch, connect to a P2P server, and bind the client to the VPN’s network interface — but the menu locations differ. In Deluge, the interface-binding option is typically found under Preferences > Network > Incoming Address. In Transmission, look under Preferences > Network for a binding address field. Port settings are generally found under a similarly named “Network” or “Connection” preferences tab in both.
Does this setup work the same way on mobile?
Mobile torrent clients are less common and more limited, partly due to app store restrictions, but the same core principles apply where the client supports them: enable the VPN’s kill switch first, connect before opening the torrent app, and check whether the mobile client offers any network-binding or interface-restriction option. Not all mobile torrent apps expose this level of control, so a leak test after connecting is even more important on mobile than on desktop.
Why does qBittorrent show a different IP than my VPN app?
This is usually normal and not a leak — qBittorrent’s built-in IP display (if it has one) sometimes reflects a cached value or a value reported by a third-party tracker rather than a live check. Trust a dedicated IP-leak-testing website over any IP address shown inside the torrent client itself, and re-run the test if the numbers seem to disagree.
Is it safe to torrent on public Wi-Fi with this setup?
The VPN and kill switch configuration described here protects your traffic and IP address the same way regardless of network type, but public Wi-Fi carries its own separate risks — including other devices on the same network potentially probing for open ports on your device. If you regularly torrent on public networks, it’s worth also checking your operating system’s firewall settings in addition to the VPN configuration covered here.
Final Checklist
- VPN provider confirmed to support P2P traffic on the plan and server you’re using
- Kill switch enabled, ideally at the system level, before connecting
- Connected to a nearby, P2P-optimized or P2P-permitted server
- Port forwarding enabled and the port number matched exactly in qBittorrent, if available
- qBittorrent bound to the VPN’s specific network interface, not “Any interface”
- IP and DNS leak test passed after connecting
- Manual disconnect test confirms downloads stop completely when the VPN drops
Once these steps are done, they largely stay done — you won’t need to repeat this full setup every time you torrent, only when you switch VPN providers, update your torrent client significantly, or notice a leak test come back unexpectedly. It’s a fifteen-minute setup that closes the specific gaps default settings leave open.


Leave a Reply